
Solutions
Agricultural Film
Agricultural film has been designed to be durable and has many qualifications such as reflection of UV and heat. Currently, the manufacturing technology for agricultural film and tools have been significantly developed. Agricultural film has been manufactured to support variety of usage such greehouse film, pond liner, mulch film, nursery bag, and etc. by focusing on incresing productivity, convenience, easiness and durability.

For Product Segments
Application Solutions

Greenhouse Film
Greenhouse film is made from high quality InnoPlus plastic resins to help regulate the greenhouse environment suitable for the growth of plants
View More

Low Tunnel Greenhouse Film
Low tunnel greenhouse film is made from high quality InnoPlus plastic resins, suitable for short term crops in various types such as strawberry, watermelon, etc.
View More
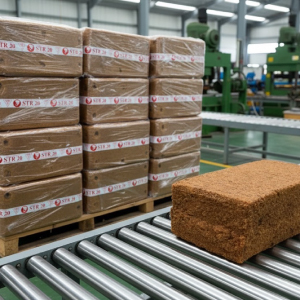
Rubber bale wrap film
Rubber bale wrap film is a film used for wrapping tires with a low melting temperature of 108 °C. It is made from LD1826L plastic
View More

Clear Mulch Film
Clear mulch film is used to cover the soil or newly grown plants in the early stages to control soil temperature and humidity. It helps reducing the time for planting and harvesting. Also, it prevents weeds and soil erosion.
View More

Color Mulch Film
Color mulch film is used for mulching soil or plants. The black side is the side that touches the soil to help maintain moisture underground and soil erosion
View More

Geomembrane
Geomembrane is strong and high flexibility. It is resistant to all climatic conditions and chemicals. They have long shelf life. Mostly, geomembrane is used for the construction of a dumpster, reservoir, or other large-scale project to prevent water from s
View More

Pond Liner
Pond liner is plastic for covering ponds including ponds for raising animals such as shrimp ponds, fish ponds. It helps preventing water seeping into the soil. Also, it prevents pathogens from soil mixing up in the water.
View More


Agricultural Pipe
Agriculture pipe is a durable plastic pipe used for irrigation of plants.
View More

Banana Foam
Banana foam is used for improving banana quality and protecting the skin of banana against wind damage, insect, and damage from birds.
View More
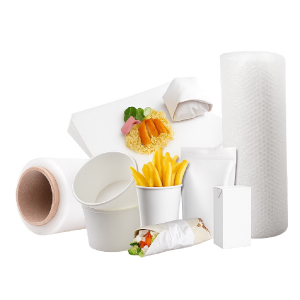
Coating
Coating is the process of applying a thin film to the surface of various materials to increase special properties such as durability, scratch resistance, moisture resistance, and aesthetics. For example, coating film on paper used for wrapping food, etc.
View More

Drip Irrigation Pipe
Drip irrigation pipe is a flexible, durable, tear-resistant plastic pipe. It can be used for watering plants in any area which is convenient for farmers.
View More

Others
LDPE, LLDPE and HDPE with special properties suitable for varieties of Film & Flexible Packaging e.g. foam
View More

Plastic Slat
Plastic slat is used as a floor for animal such as pigs, chicken to control temperature, keep dry, durable, and easy cleaning to protect animal from sickness.
View More